How to create a shared calendar e.g., for meeting scheduling, conference/meeting room booking, etc.
This is a step-by-step guide on how to create a shared calendar, e.g., for meeting scheduling or conference room bookings, etc. Before you begin, ensure you have a dedicated account for managing the shared calendar (e.g., conferenceroom@kachooks.com) OR one user can use their individual email account to create the calendar, e.g., anne@kachooks.com and share it with others.
The steps to follow as shown below will remain the same. The only difference is the email account that you will log into in step 1.
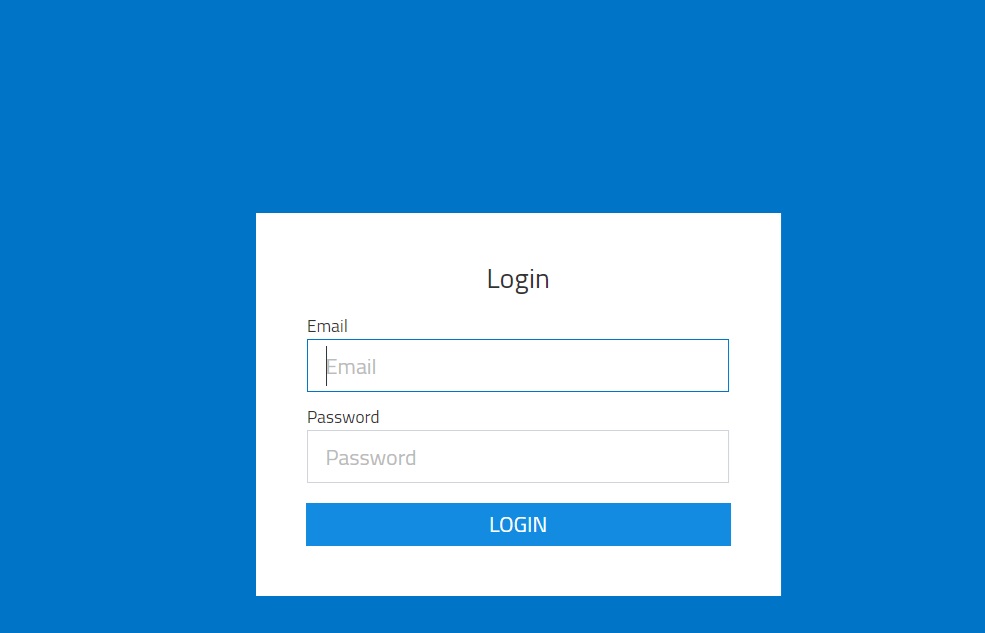
Step 1. Login to your email via https://mail.mailsafi.com
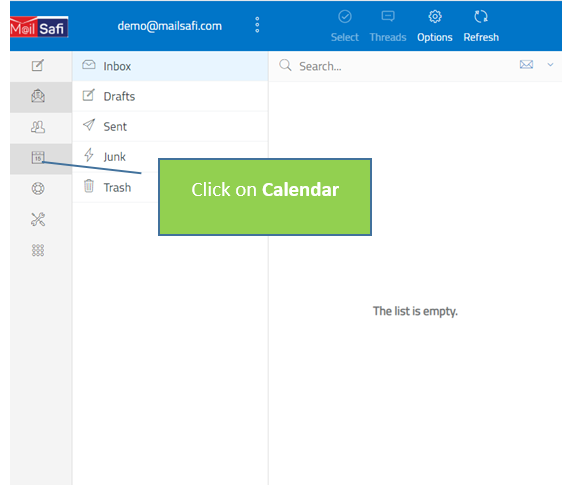
Step 2. In your MailSafi email account, click on the Calendar menu item
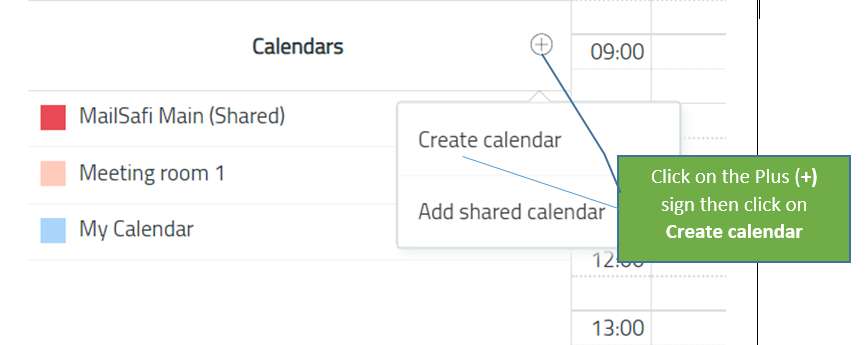
Step 3. Click on the + sign next to Calendars and then click on Create calendar
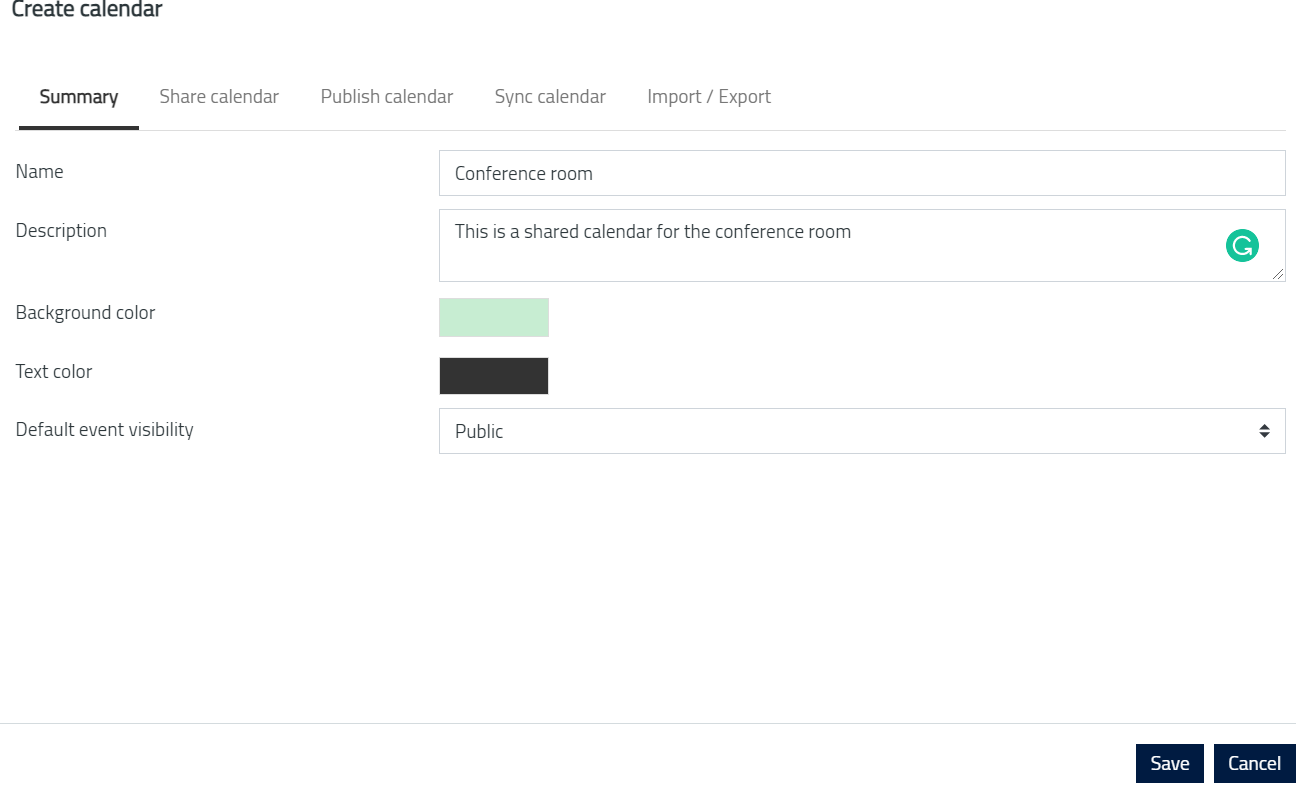
Step 4. Enter details in the Create calendar window on the right and then click on Save on the bottom right-hand corner.
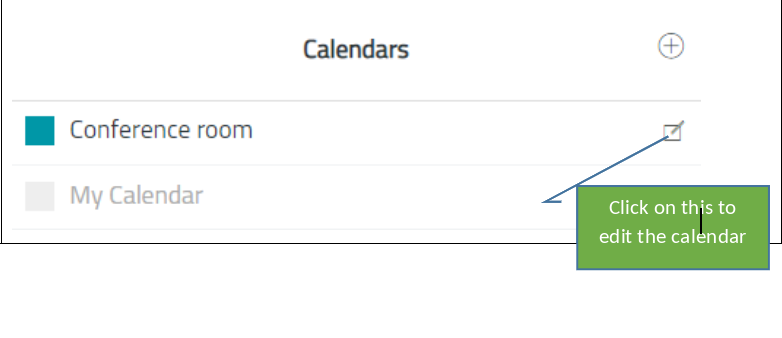
Step 5. Click on the small icon next to Conference room to edit the calendar.
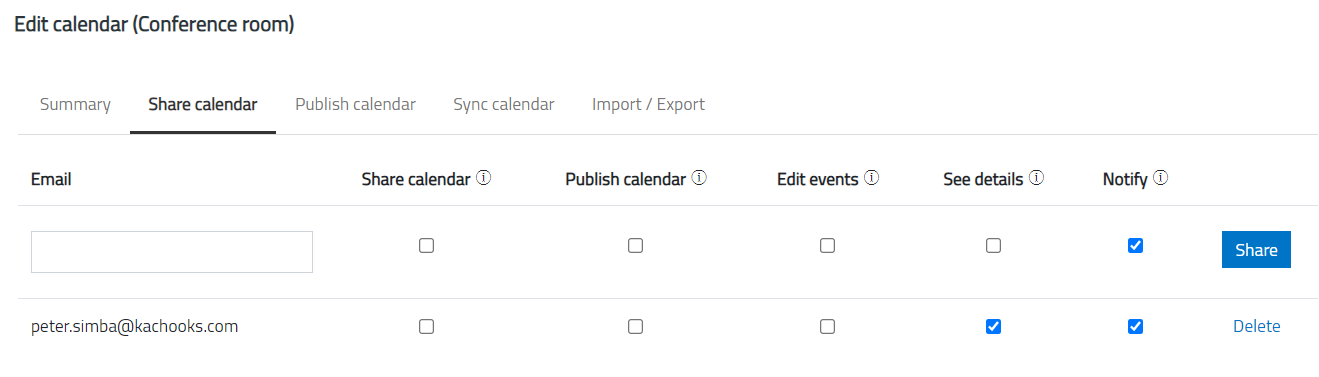
Step 6. In the Edit calendar window, add the users one by one that you would like to share the calendar with, check options as necessary, then click Share.
Once done adding all the users, click on Save on the bottom right-hand corner.
Check options meaning:
Share calendar – if checked, the user will be able to share the calendar with others
Publish calendar – if checked, the user will be able to publish the calendar
Edit events – if checked, the user will be able to edit and delete calendar events
See details – if checked, all event details will be shared. If unchecked, only the available/busy information will be shared
Notify – if checked, an email will be sent to the user informing him or her of the newly shared calendar
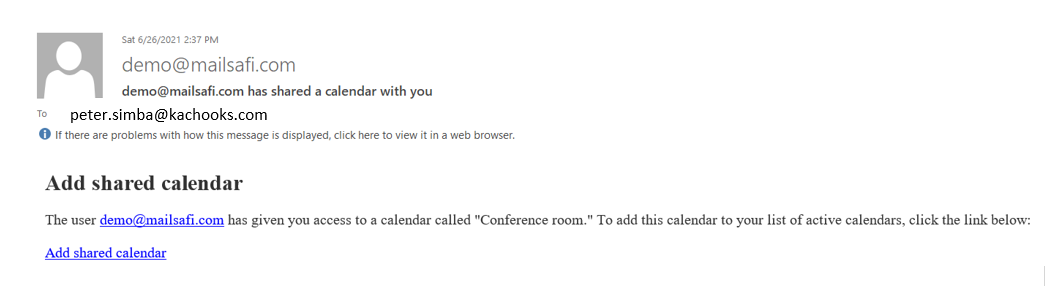
Step 7. Each user added will receive an email notifying them that a calendar has been shared with them. User needs to click the link in the email that says Add shared calendar.
How to make a booking on the calendar
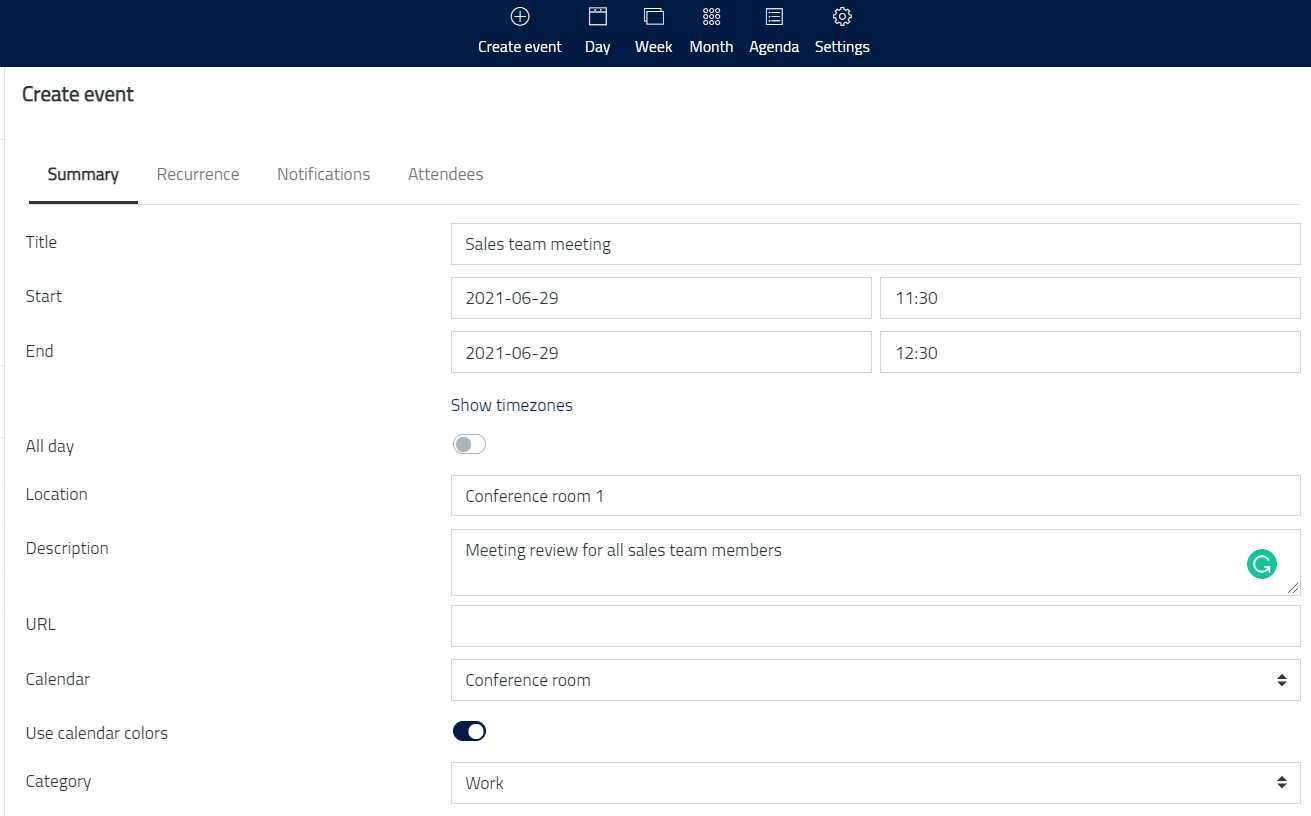
Step 8. To make a reservation, click on Create event and fill in the details as necessary in the form. For visibility, select Public. Then click Save.
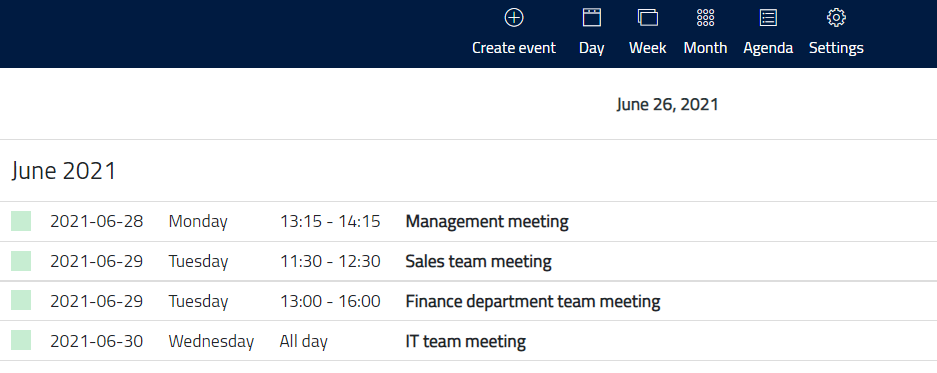
Step 9. To view all reservations, click on
Day – to view all bookings today
Week – to view all bookings in the week
Month – to view all bookings in the month or
Agenda - for a summary of all bookings

OR if you click to view Agenda. It will show the active calendars.