How to Create a CalDAV Connection
This is a step-by-step guide on how to synchronize your MailSafi calendar with third-party calendar applications on iPhone/iPad/iPod.
For illustration, we will use a demo account peter.simba@kachooks.com in this step-by-step guide.
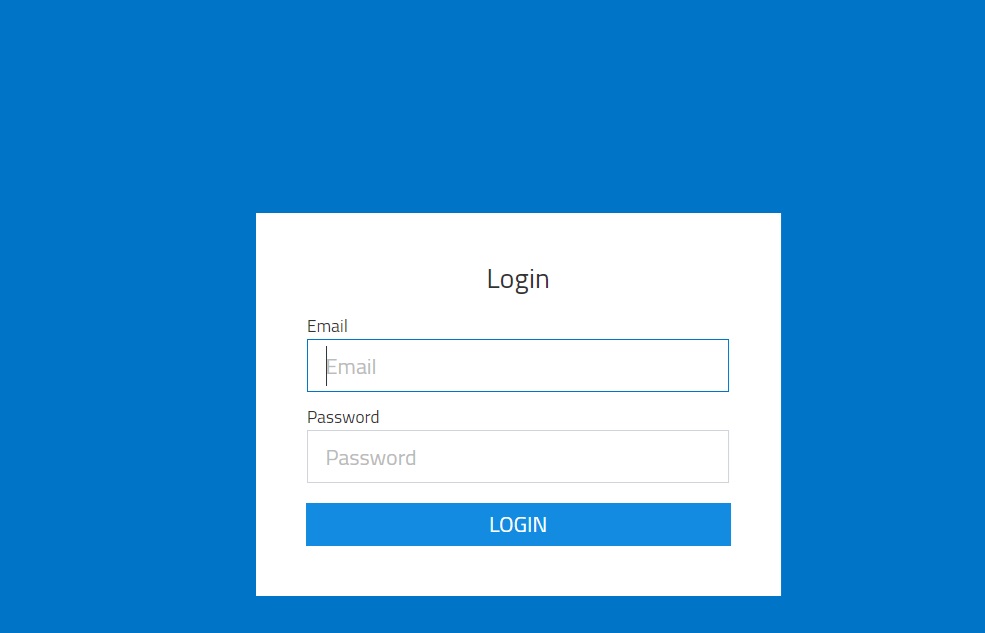
1. Login to your email via https://mail.mailsafi.com
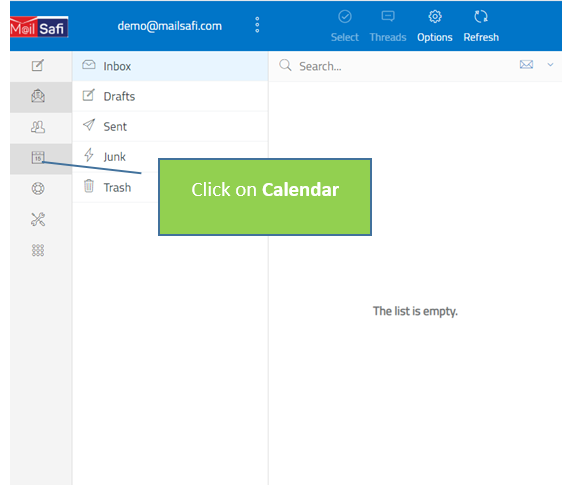
2. In your MailSafi email account, click on the Calendar menu item
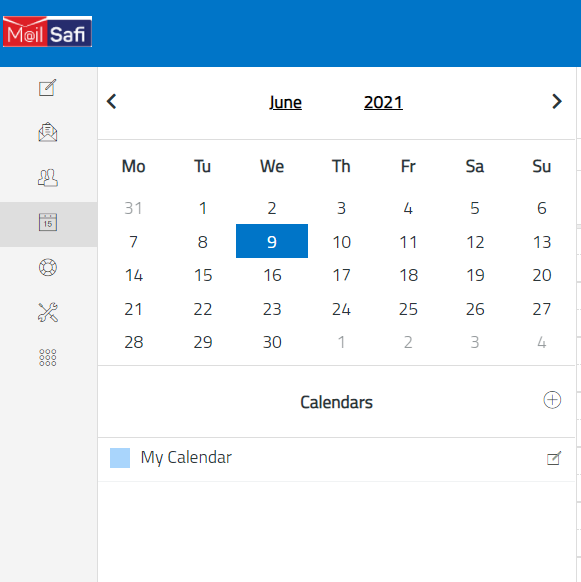
3.Hover the mouse over the name of calendar you'd like to synchronize. A small pencil icon will appear. Click it to edit the calendar.
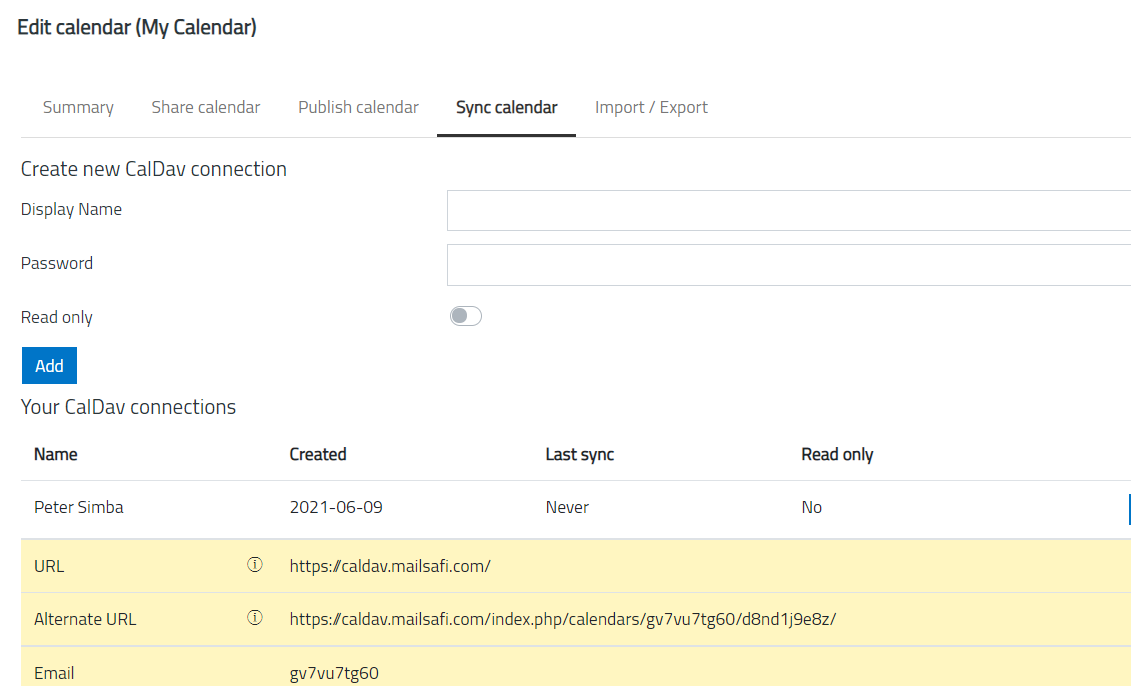
4. Create a new CalDAV connection
• Click the Sync calendar tab.
• Here, you will create a new CalDAV connection for this calendar. You can create as many connections as you like; e.g., you can use a different connection for every device you'll use (laptop, tablet, iPhone, etc.), or different connections for different individuals you'll be sharing the calendar with.
• Type the display name of the new connection. The display name will identify this connection in your connection list and will be used in some client apps as the name of the calendar.
• Enter the password that will be used to secure this connection.
• If you'd like to make this connection read-only, check the Read only checkbox. Doing so means you will not be able to edit the calendar from this connection.
• Click the Add button.
5. View the connection details
You will now see your new connection in the CalDAV connections list. You will also see all the connection details that you'll need to connect a third-party calendar application to your calendar.
6. Connect an app to your calendar
Now that you have a CalDAV connection, you can set up a third-party application to work with your MailSafi calendar. To set up on iOS click here. For Outlook, click here.